Monday, July 29, 2013

Even better Cauliflower pizza crust

The Secret To Perfect Cauliflower Pizza Crust
Author: 
 
A grain-free alternative to traditional pizza crust, that you can pick up with your hands!
Ingredients
  • 4 cups raw cauliflower rice (about one medium head)
  • 1 egg, beaten
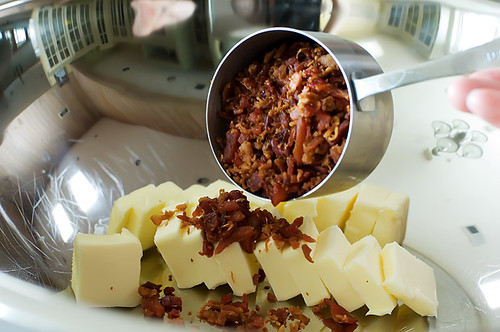
  • ⅓ cup soft goat cheese (chevre)
  • 1 teaspoon dried oregano
  • pinch of salt
Instructions
  1. Preheat your oven to 400F.
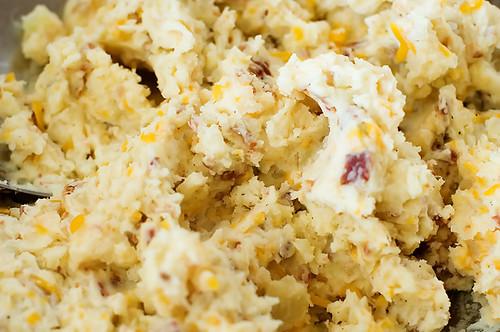
  2. To make the cauliflower rice, pulse batches of raw cauliflower florets in a food processor, until a rice-like texture is achieved.
  3. Fill a large pot with about an inch of water, and bring it to a boil. Add the “rice” and cover; let it cook for about 4-5 minutes. Drain into a fine-mesh strainer.
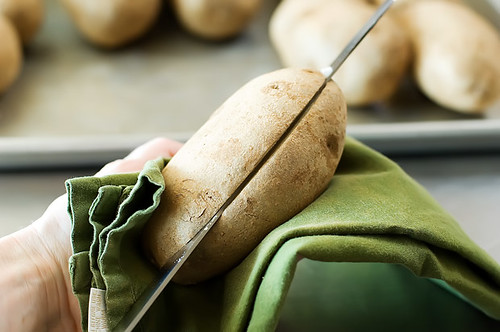
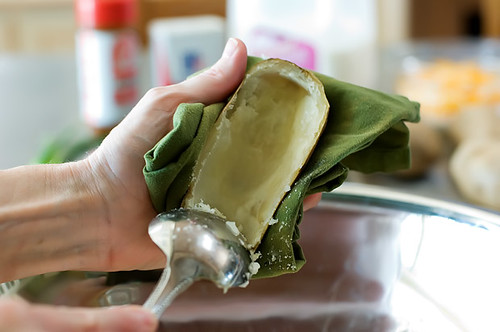
  4. THIS IS THE SECRET: Once you’ve strained the rice, transfer it to a clean, thin dishtowel. Wrap up the steamed rice in the dishtowel, twist it up, then SQUEEZE all the excess moisture out! It’s amazing how much extra liquid will be released, which will leave you with a nice and dry pizza crust.
  5. In a large bowl, mix up your strained rice, beaten egg, goat cheese, and spices. (Don’t be afraid to use your hands! You want it very well mixed.) It won’t be like any pizza dough you’ve ever worked with, but don’t worry– it’ll hold together!
  6. Press the dough out onto a baking sheet lined with parchment paper. (It’s important that it’s lined with parchment paper, or it will stick.) Keep the dough about ⅓” thick, and make the edges a little higher for a “crust” effect, if you like.
  7. Bake for 35-40 minutes at 400F. The crust should be firm, and golden brown when finished.
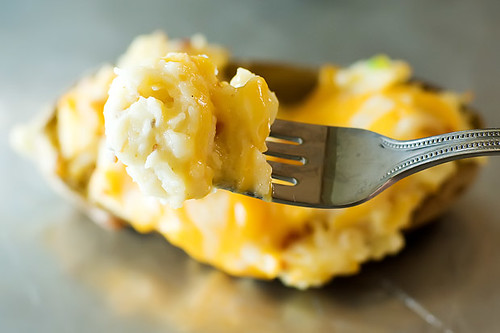
  8. Now’s the time to add all your favorites– sauce, cheese, and any other toppings you like. Return the pizza to the 400F oven, and bake an additional 5-10 minutes, just until the cheese is hot and bubbly.
  9. Slice and serve immediately!
Notes
Time-Saving Tip: I recommend making a double-batch of cauliflower pizza crusts–> make one for now, and save one for later. After baking the crusts, wrap up the extra pizza crust in foil, and FREEZE it for a quick “frozen pizza” to enjoy another night! All you need to do is add toppings and bake at 400F, until the cheese is hot and bubbly.

Monday, July 22, 2013

Summer Vegetable Tian


Ingredients
  • 1 Tbsp olive oil $0.11
  • 1 medium yellow onion $0.70
  • 1 tsp minced garlic $0.08
  • 1 medium zucchini $0.71
  • 1 medium yellow squash $0.85
  • 1 medium potato $0.91
  • 1 medium tomato $1.65
  • 1 tsp dried thyme $0.05
  • to taste salt & pepper $0.05
  • 1 cup shredded Italian cheese $1.49
Instructions
  1. Preheat the oven to 400 degrees. Finely dice the onion and mince the garlic. Saute both in a skillet with olive oil until softened (about five minutes).
  2. While the onion and garlic are sauteing, thinly slice the rest of the vegetables.
  3. Spray the inside of an 8×8 square or round baking dish with non-stick spray. Spread the softened onion and garlic in the bottom of the dish. Place the thinly sliced vegetables in the baking dish vertically, in an alternating pattern. Sprinkle generously with salt, pepper, and thyme.
  4. Cover the dish with foil and bake for 30 minutes. Remove the foil, top with cheese and bake for another 15-20 minutes or until the cheese is golden brown.
  5. Dice the onion and get it cooking with the garlic and olive oil in a skillet.
  6. Meanwhile, slice the veggies very thin. (I didn’t dare try to use my mandolin again!)
  7. When the onions are soft and translucent, place them in the bottom of a baking dish (8×8 or round pie size). I sprayed the inside of my dish to make sure nothing would stick… I have a hunch that rubbing it with butter would add amazing flavor but I didn’t think of that till just now.
  8. Alternate the vegetables in the dish. They don’t have to be pretty. I started out with it looking nice and in a distinct pattern but then I realized that I had a bunch left over and just started jamming them in there… I didn’t want to waste any precious veggies. It all worked out in the end. Oh yeah, sprinkle generously with salt, pepper, and thyme. GENEROUSLY.
  9. Cover the dish with foil and bake in a preheated 400 degree oven for 30 minutes. Remove the foil, sprinkle with cheese and bake for another 15-20 minutes or until the cheese is nice and golden brown. ENJOY!


Parmesan broiled tilapia

4 Tilapia Fillets 
1/4 c parmesan cheese 
1/8 c butter 
1 1/2 T greek yogurt 
1 T lemon juice seasoning 
turn broiler to high combine all ingredients except talipia 
place tilapia on a foil lined pan broil 3 minutes 
flip over - put the parmesan mixture over uncooked sides of tilapia return to oven and broil 3-4 minutes

paprika
parsley

Tuesday, March 5, 2013

Cauliflower Pizza Crust - YUM!

A few notes to start:
I used my pampered chef food processor thing to 'rice' the cauliflower. It has 1 cup of cheese in it. so that's not great....but I only put a sprinkle of cheese on the top of my pizza. There is so much flavor in the dough that you dont need cheese on top. I really just put sauce and mushrooms/onions on mine. it was awesome. Awesome. 
I put a piece of aluminum foil with cooking spray on my baking stone to cook it. it did not stick to it. People complained about that a lot in the comments.  I let it cool for a long time on my cooling rack before actually topping it and then cooking again. 
Its really the size of a large personal pan. I spose 2 people could share it if you had a salad to go with it. 
Ingredients:
1 cup cooked, riced cauliflower
1 cup shredded mozzarella cheese (I used an italian blend)
1 egg, beaten
1 tsp dried oregano
1/2 tsp minced garlic
1/2 tsp kosher salt
olive oil (optional)
pizza sauce, shredded cheese and your choice of toppings*
Directions:
Remove stems and leaves from 1 head of cauliflower, and chop the florets into chunks. Add to your food processor and pulse until it looks like grain. Do not over-do pulse or you will puree it. (You can also use a cheese grater). Place the “riced” cauliflower into a microwave safe bowl and microwave for 8 minutes (may need to adjust according to your microwave). No need to add water.
One large head will produce between 2 and 3 cups of riced and cooked cauliflower. The remainder can be used to make additional pizza crusts immediately, or can be stored in the refrigerator for up to a week.
To make the pizza crust:
Preheat oven to 450 degrees. Spray a cookie sheet with non-stick cooking spray (or use non-stick aluminum foil on a cookie sheet, which is what I did). In a medium bowl, stir together 1 cup cauliflower, beaten egg and mozzarella. Add oregano, minced garlic and salt, mix well. Transfer the mixture to your cookie sheet, and pat out into a 9″ round.
Bake at 450 degrees for 15 minutes.
Remove from oven and let cool awhile. This helps to make the crust more solid. 
To make the pizza:  add sauce, toppings and cheese. Place under a broiler at high heat just until cheese is melted (approximately 3-4 minutes). *Toppings need to be precooked since you are only broiling for a few minutes.

Monday, February 18, 2013

Amy P's stuffed mushrooms


12 Medium to Large mushrooms
1/4-1/2 C. Panko Italian breadcrumbs
1/4 C.  Italian sausage, browned
1/4 C. Parmesean Cheese
1/2 C. Melted butter
1/2 tsp. salt
chopped green onion
Mozzarella cheese

Brown sausage and green onion.  Pop out mushroom stems and chop up the half of the stem that was inside the mushroom.  Mix all ingredients together with half of the melted butter.  Use the other half of the butter to dip the mushroom caps in.  Place mushrooms in a baking dish and fill with mixture.

Bake at 400 for 20 min.  Last 5 minutes, top with mozzarella cheese.

PW Twice Baked Potatoes


Stolen directly from http://thepioneerwoman.com - I just wanted it on my own blog. 
Ingredients: 8 Potatoes, 2 sticks Butter, 1 cup Sour Cream, 1 cup Cheddar/Jack Cheese,1 cup Bacon Bits, 1/4 tsp. Lawry’s Seasoned Salt, Black Pepper, milk (if necessary) and Green Onion (optional).
FIRST THINGS FIRST: Wash, then place eight baking potatoes on a cookie sheet. Bake in a 400 degree oven for 1 hour, 15 minutes, making sure they’re sufficiently cooked through.


Now begin slicing two sticks of butter into pats.

Until they’re all sliced. Place them into a large mixing bowl. 
One cup crumbled bacon added to butter.

Measure one cup of sour cream.

…And dump it into the mixing bowl with the other evildoers.

Now, the potatoes are all done. The reason you bake them "naked" is so the skin will be nice and firm—and strong enough to hold the filling later. Within a few minutes after you remove the baked potatoes from the oven, you need to begin scraping them out.
…Cut each potato in half lengthwise.

Now, with a large spoon, begin scraping out the insides into the bowl.

Keep scraping, being careful not to tear the shell. (Though if you do tear one, please don’t wig out and flog yourself.) You should leave just a little bit in there for support, but try to remove most of it.

Lay the hollowed out potato shells on a cookie sheet.
Begin smashing the potatoes with the other ingredients.
Now fetch that trusty Lawry’s Seasoned Salt from your spice cabinet. Anyone have a count of how many of my recipes call for Lawry’s? It’s an epidemic. Measure about 1/4 teaspoon and add it to the bowl. You can always adjust the seasonings later.

Now add about 1 cup of grated cheddar/jack cheese and mix it in well.
Go ahead and spice it up, baby.

Now, at this point, you could go ahead and stuff the potato shells. Or, if you like a little more flavor…
Add one green onion or more. 

Throw ‘em into the bowl…

Scoop out some of the yummy potato filling and begin filling the shells.

Keep going until the filling’s all gone. You might have a shell or two left over, and that’s okay. I like to fill the shells so they look abundant and heaping.

Now top each potato with more grated cheddar/jack cheese and pop ‘em in a 350-degree oven for 15 to 20 minutes, or until the potato is warmed through.
Or, you could refrigerate them for up to three days until you wanted to serve, OR you could freeze them in Ziploc bags, just as long as you skipped the green onion step.

Baked Italian Chicken

Everyone loved this...even the picky eaters. 

Ingredients:
1 cup sour cream
2 tablespoons Dijon mustard
2 cloves garlic
1/2 tsp black pepper
4 skinless, bonesless chicken breasts
1 cup crushed corn flakes or frosted flakes
1 (1 ou.) packaged dry onion soup mix
3 tbs melted butter

1. Preheat oven to 400 degrees

2. butter baking dish

3. whisk sour cream, mustard, garlic & pepper together in large bowl. 
Add chicken and turn to assure both sides are well coated. 
Refrigerate 30 min. 

4. Combine cereal and onion soup mix in a bowl. 
Gently press the chicken into the mixture to coat. 
Shake off excess. 
Lie the coated breasts in the baking dish
Drizzle melted butter over the chicken.

5. Bake until golden brown about 30 min.